{Before & After} Awesome Headboard Project
By Nadine McCrea | December 14th, 2010 at 3:57am
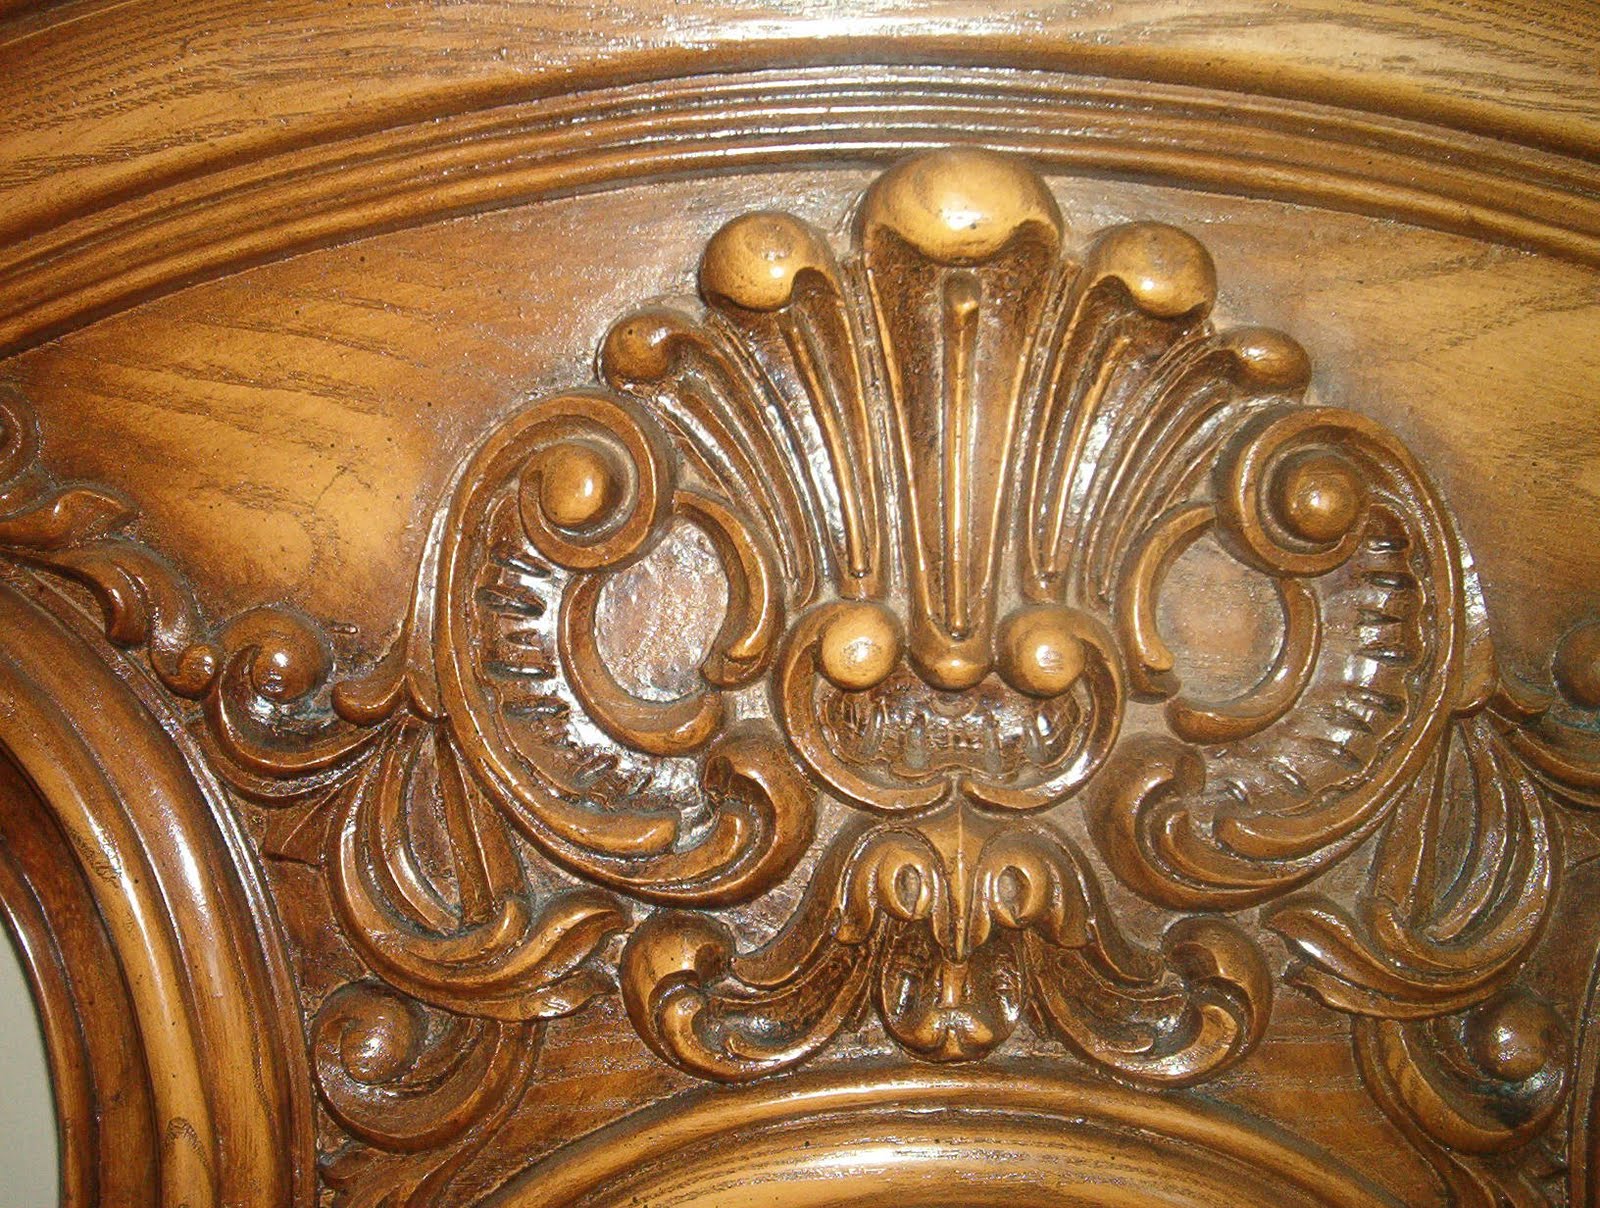
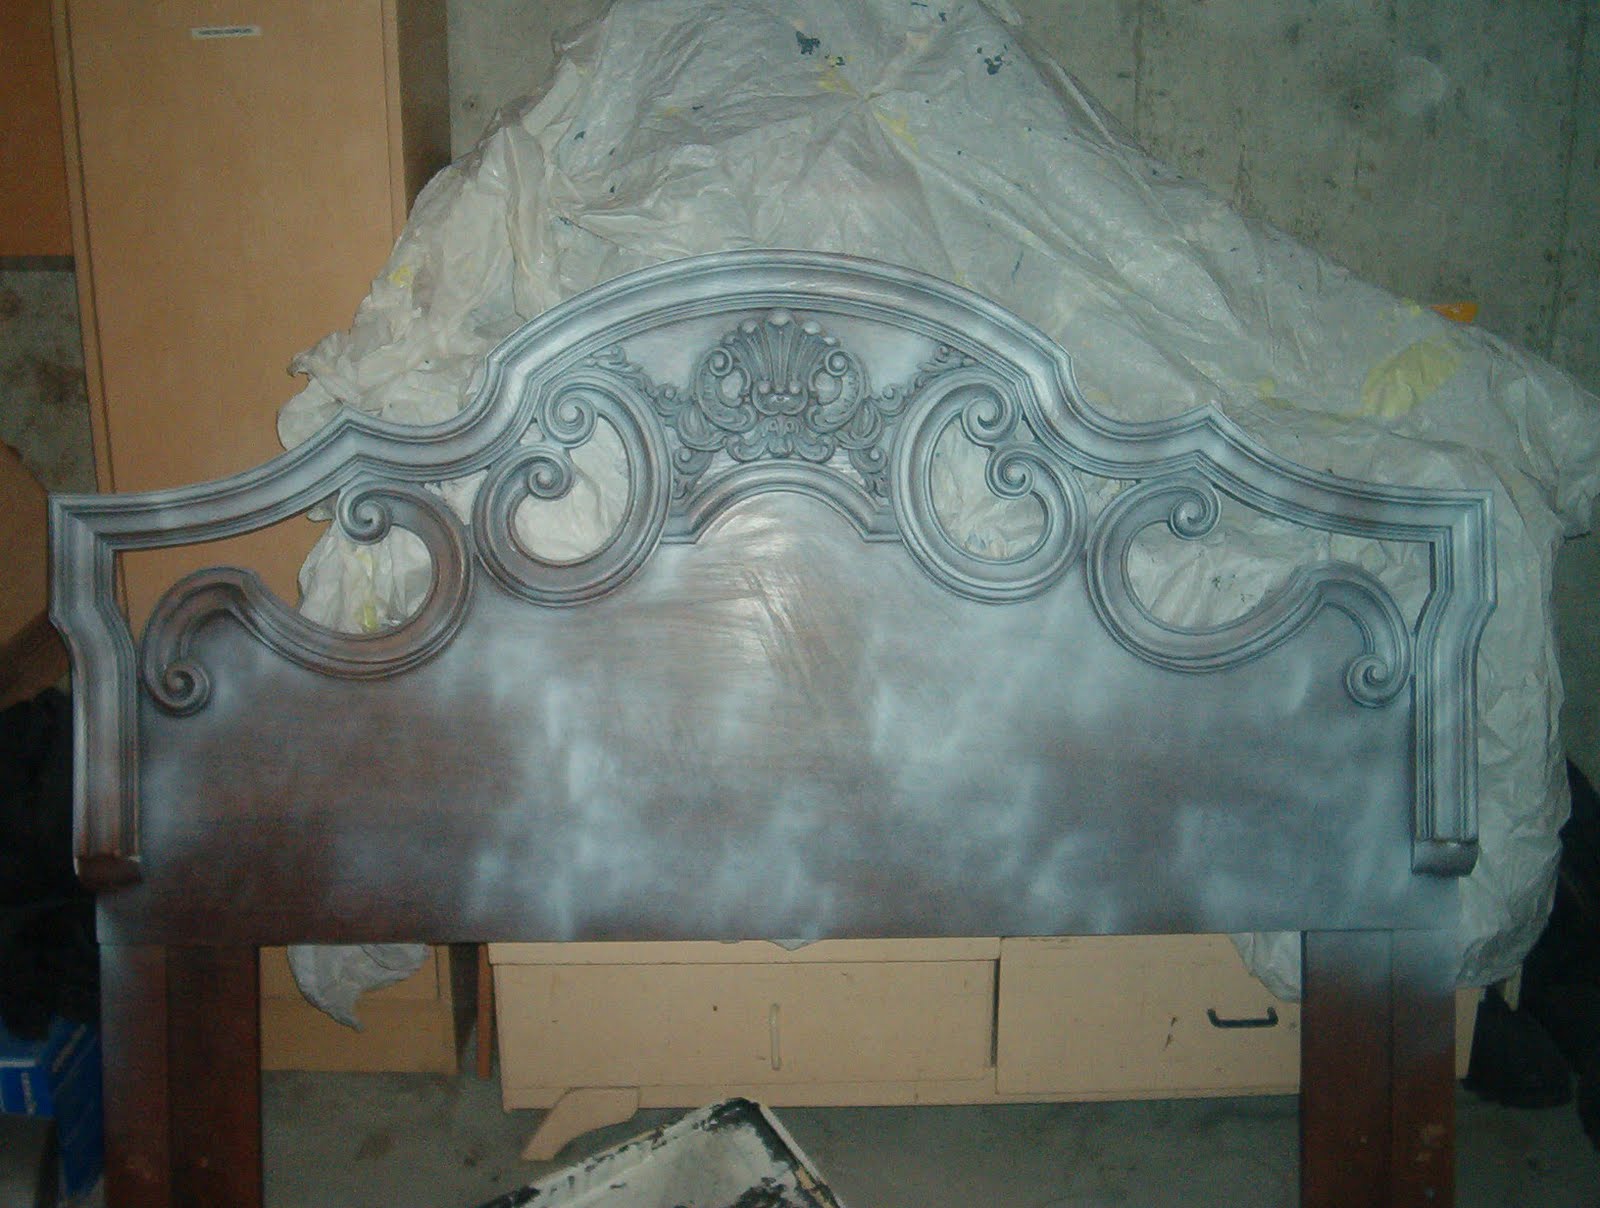
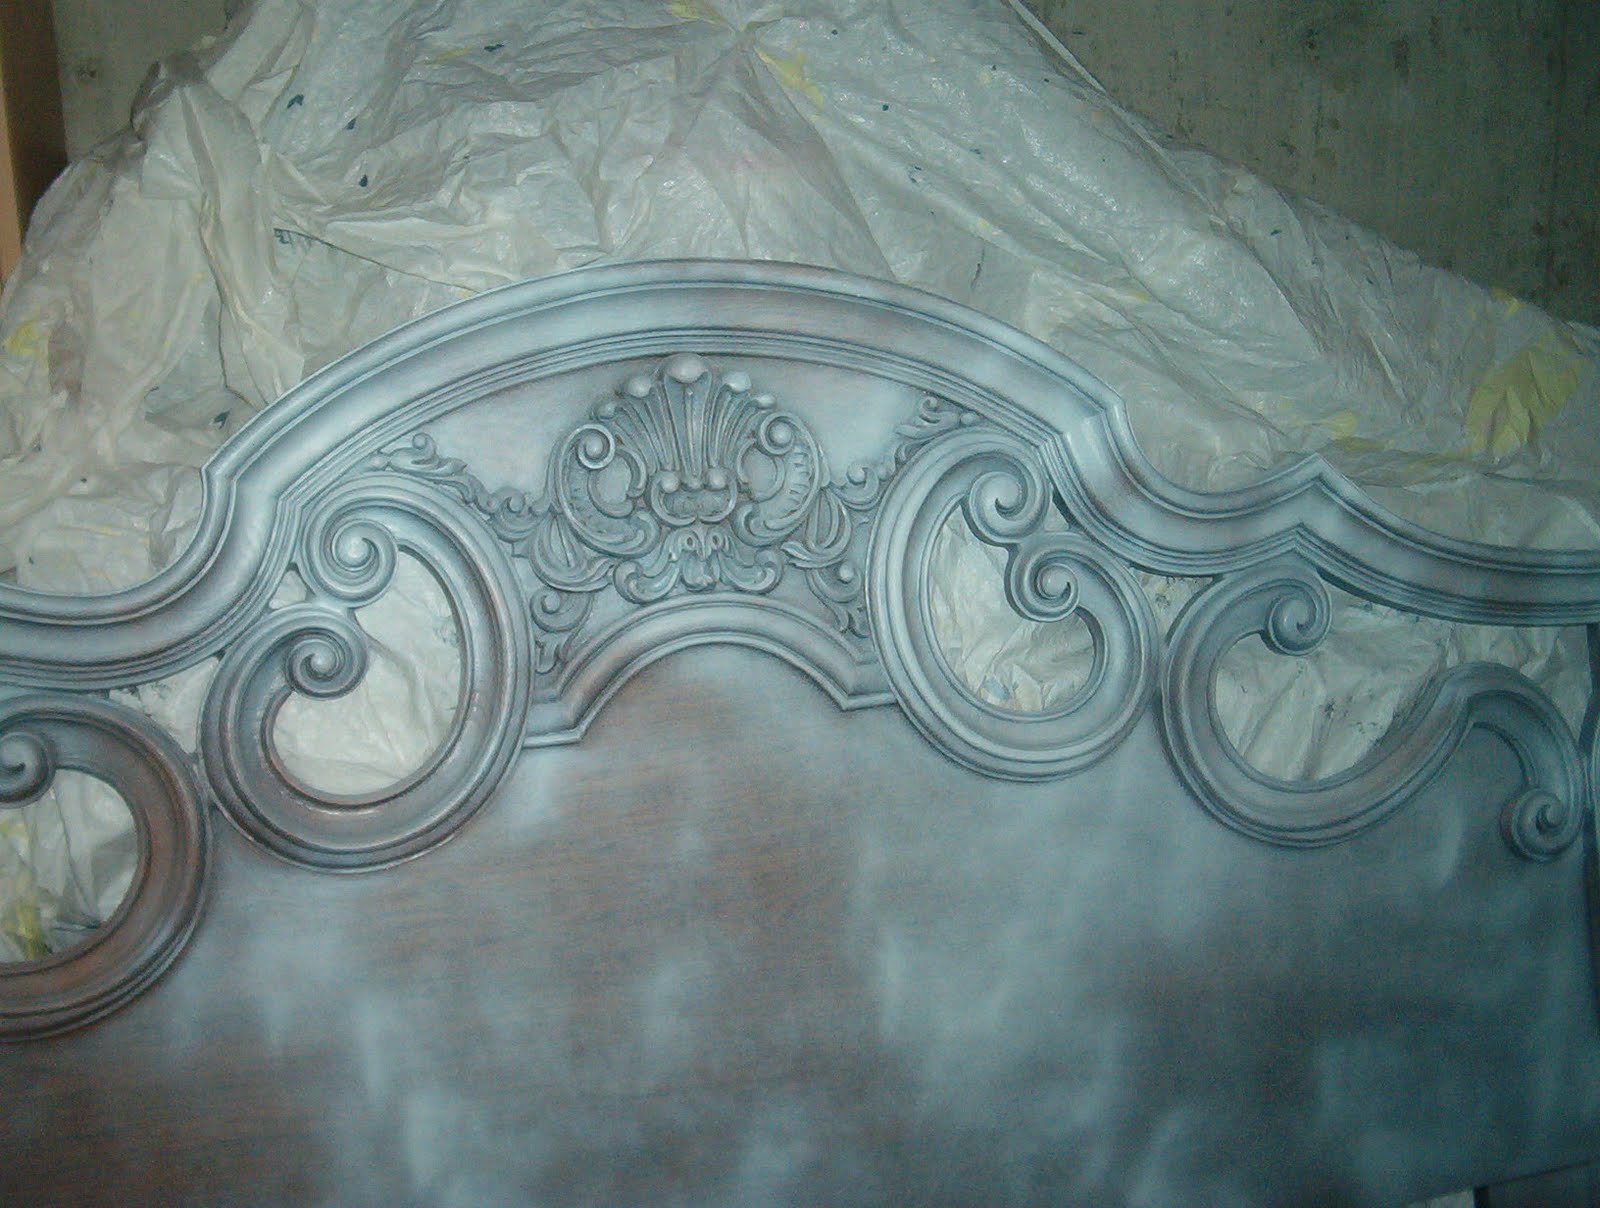
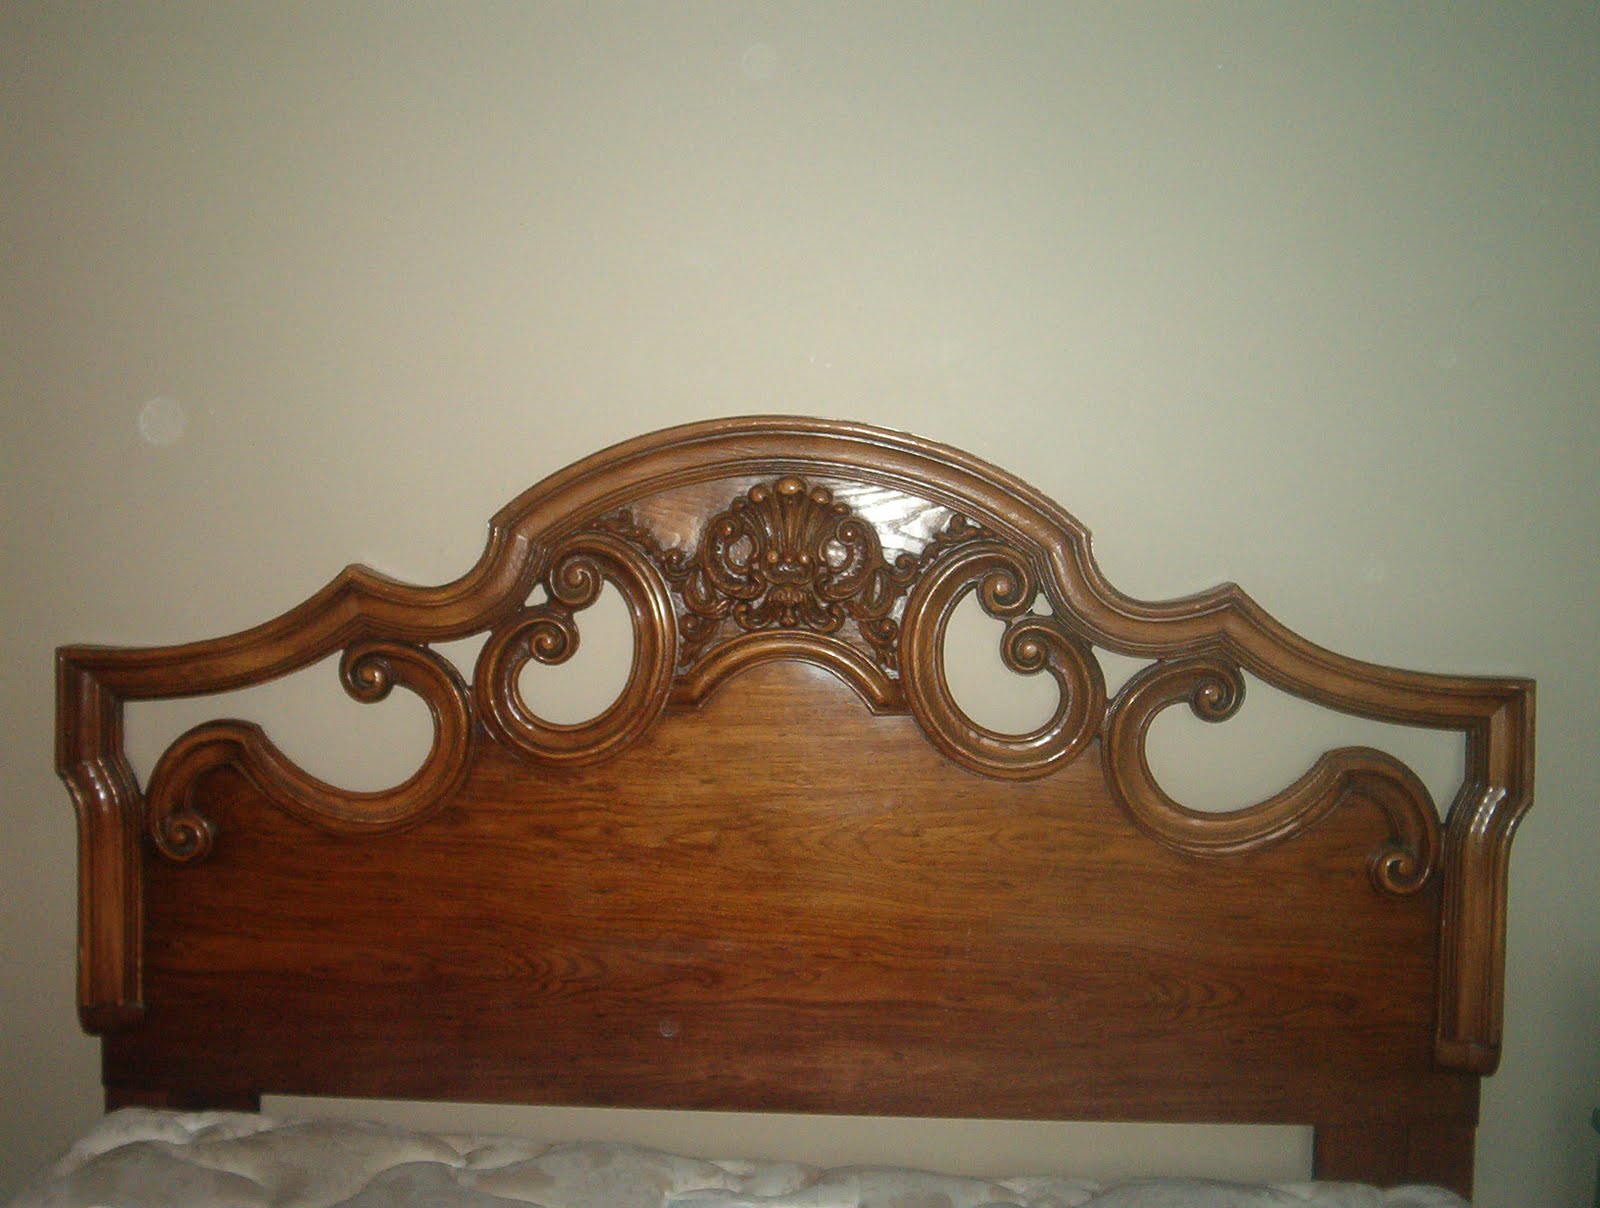 So here is a before picture of a headboard I found at my local Goodwill store, which now belongs to me! It had been around a couple weeks and was marked down to $16.20. And, as an added bonus, there is no tax charged at Goodwill. Everyone likes that deal, right? I had been trying to decide what to do to update my master bedroom. I considered making an upholstered headboard, but truthfully, I am not the best with fabric or sewing even though I love the look. I was also worried about selecting a neutral material that would go with any future bedding I might choose. I am already starting to tire of my current set. It's the brown that's bugging me now, I think. (I hope Jack isn't reading this.) So when I came across the headboard, I thought it was the perfect solution! Here are some detail shots.
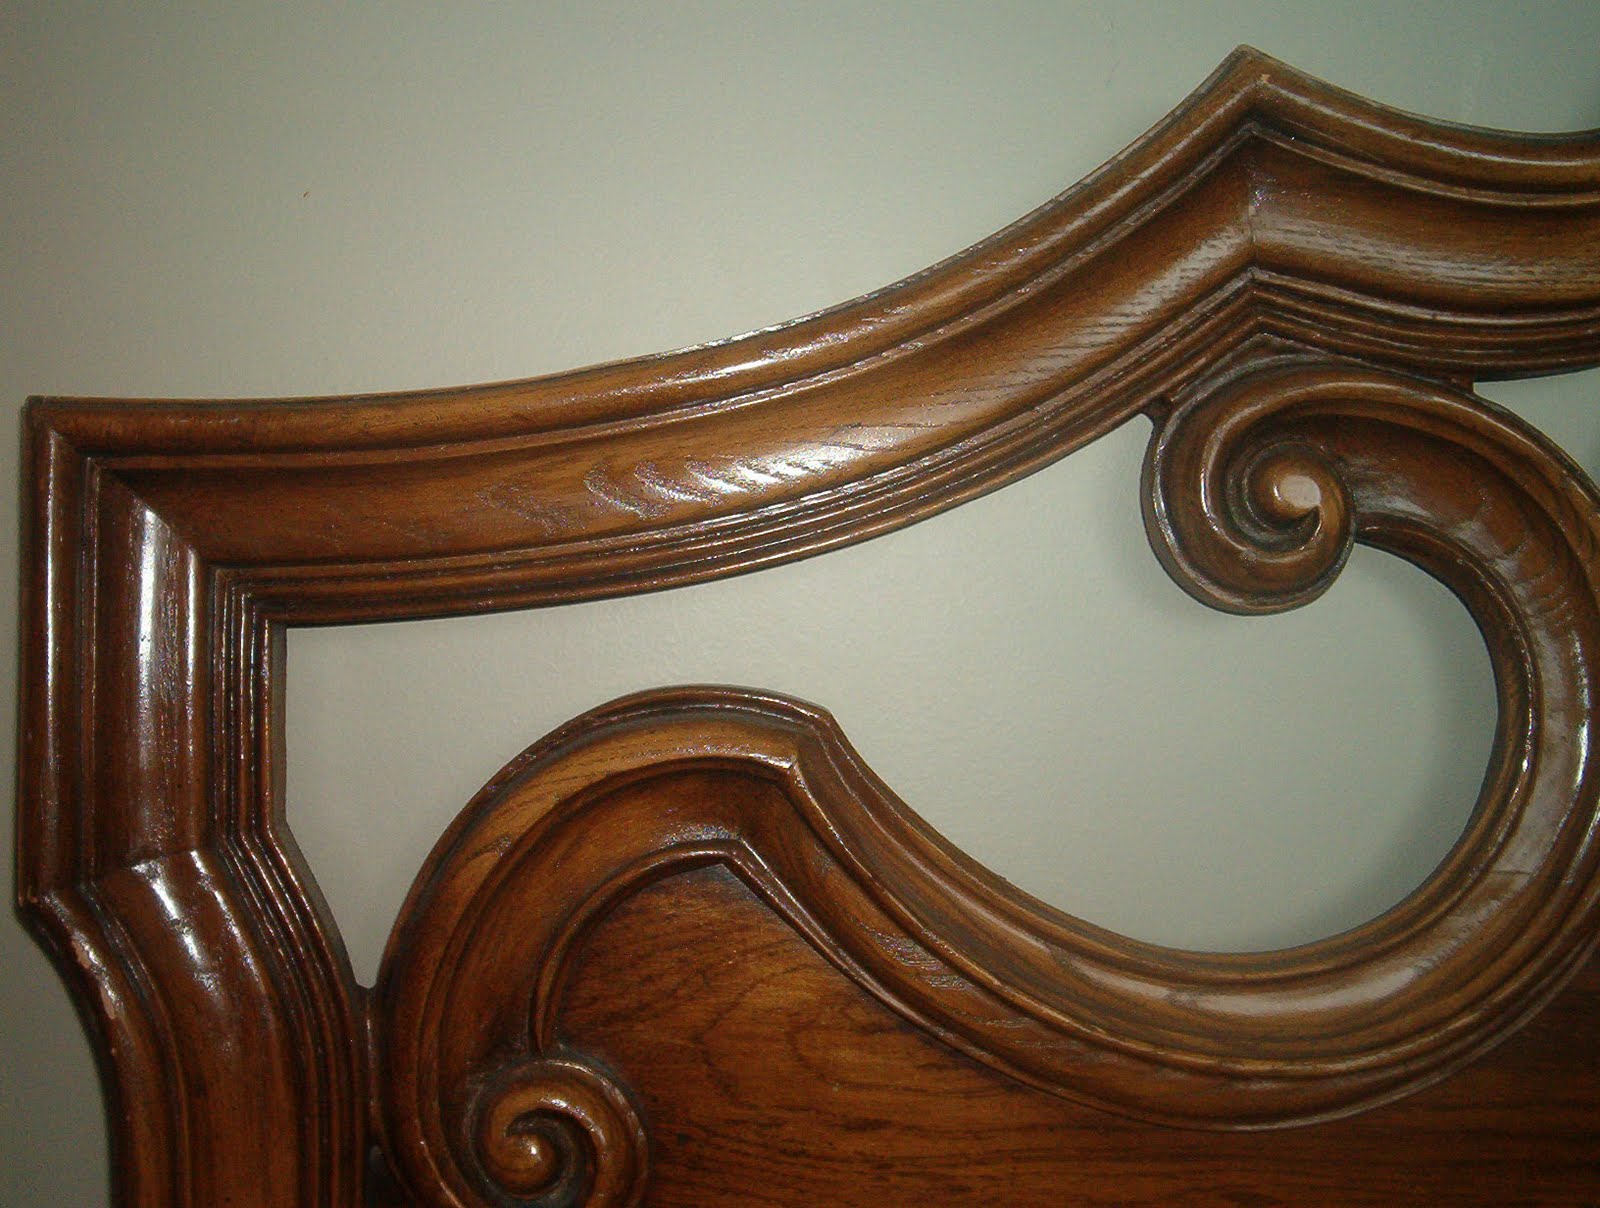
 So the H.G. and I loaded it up in the back of my son's Honda Civic (don't ask) and brought the treasure home. Although I will admit when Jack saw the "before" casually resting against the wall in the foyer, he said, "Oh no, what have you brought home now???". Oh ye of little faith.
The Goodwill had the headboard labeled as "wood", but it looked like veneer to me. I wanted to use spray paint because of all the details on it, but I had heard some horror stories about spray-painting furniture. As I was going back and forth, the H.G. put it into perspective. She told me it was only sixteen bucks and that money had already gone to charity, so no harm, no foul. That is true.
Off we headed to Home Depot. Unfortunately, our city has a ban on selling spray paint to minors in an attempt to curtail graffiti, so all the paint is locked up. There wasn't anyone around to help us, so we went to Walmart. This is what I bought:
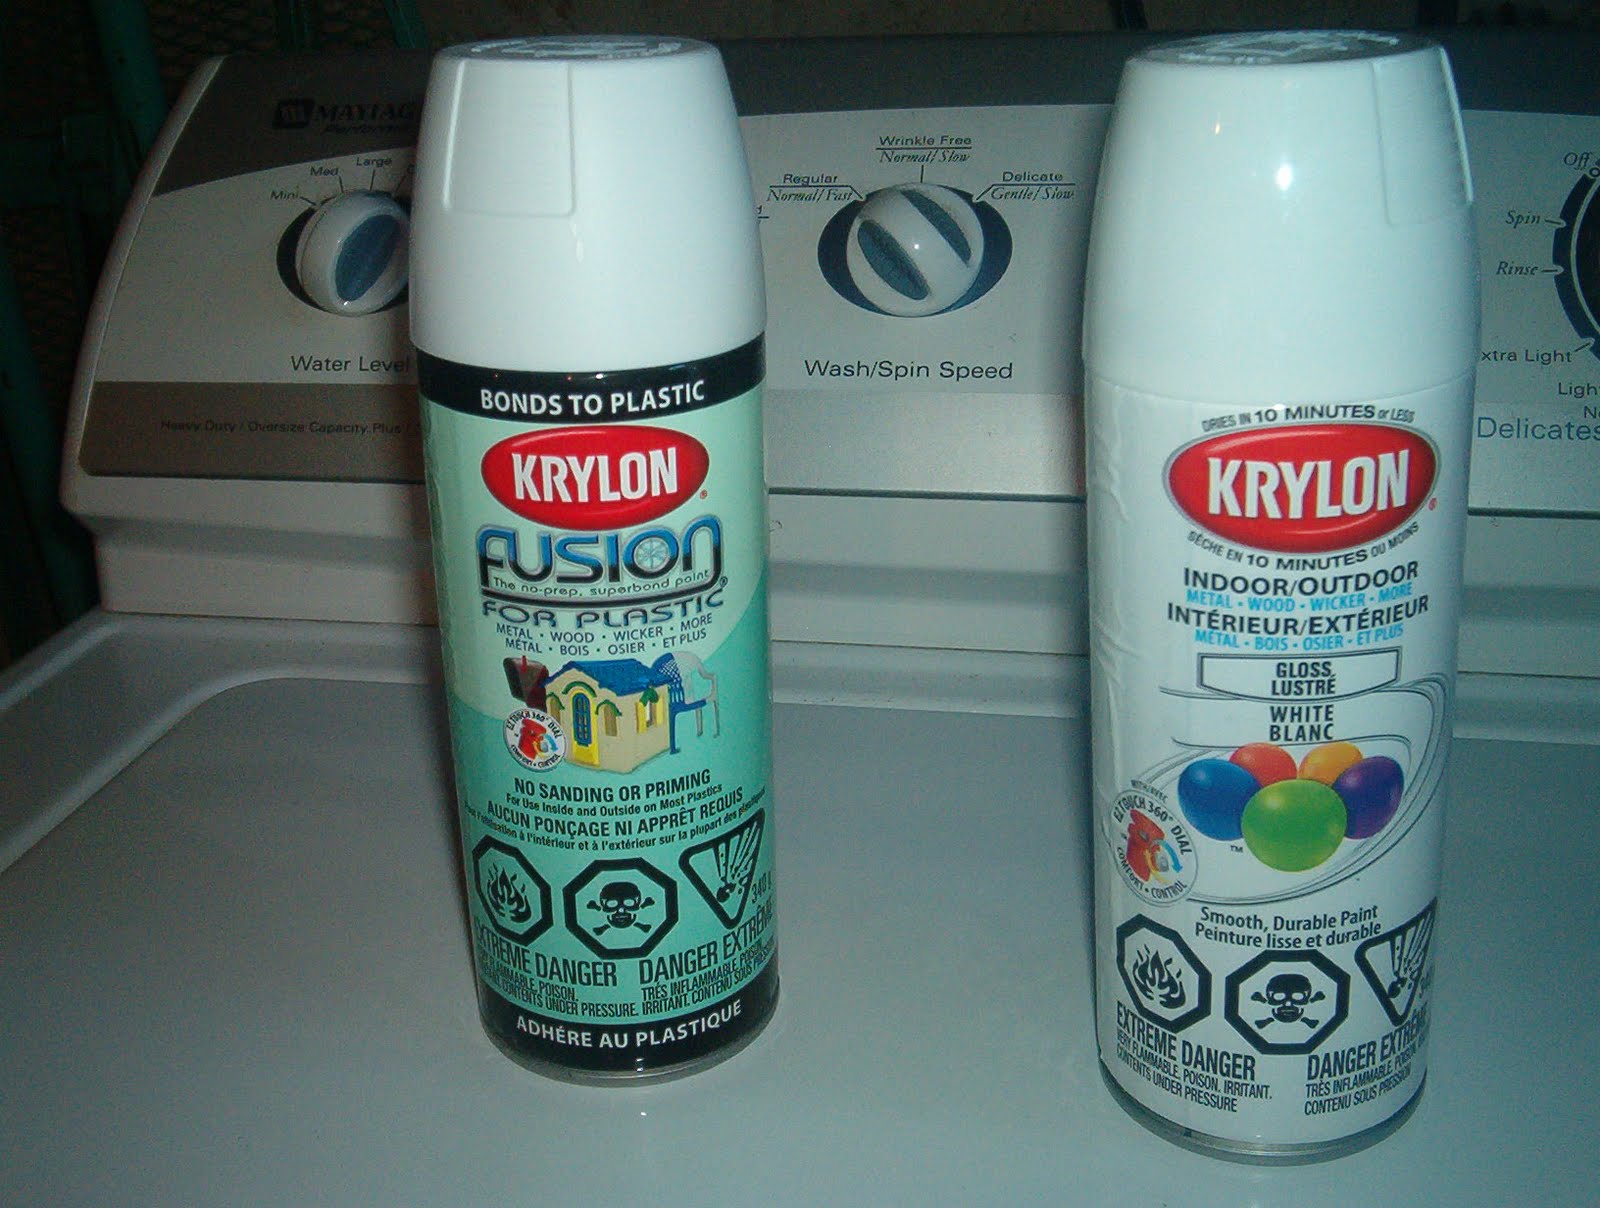 You may be able to see I couldn't decide which type to buy. I ended up using both - the one on the left first as a "primer" and then the right one as a glossy white finish coat. Each can cost $5.
I started by washing the headboard thoroughly with TSP and rinsing with clear, clean water. I didn't let it get too wet. Then I let it air dry overnight.
The following day, I sanded well by hand and then dusted with an electro-magnetic dusting product.
Then I coated the board with light coats of paint- two coats from each can -4 in total, letting each coat dry an hour in between.
Here are "during" shots:
And now (drum roll, please) here is the finished product in the master bedroom:
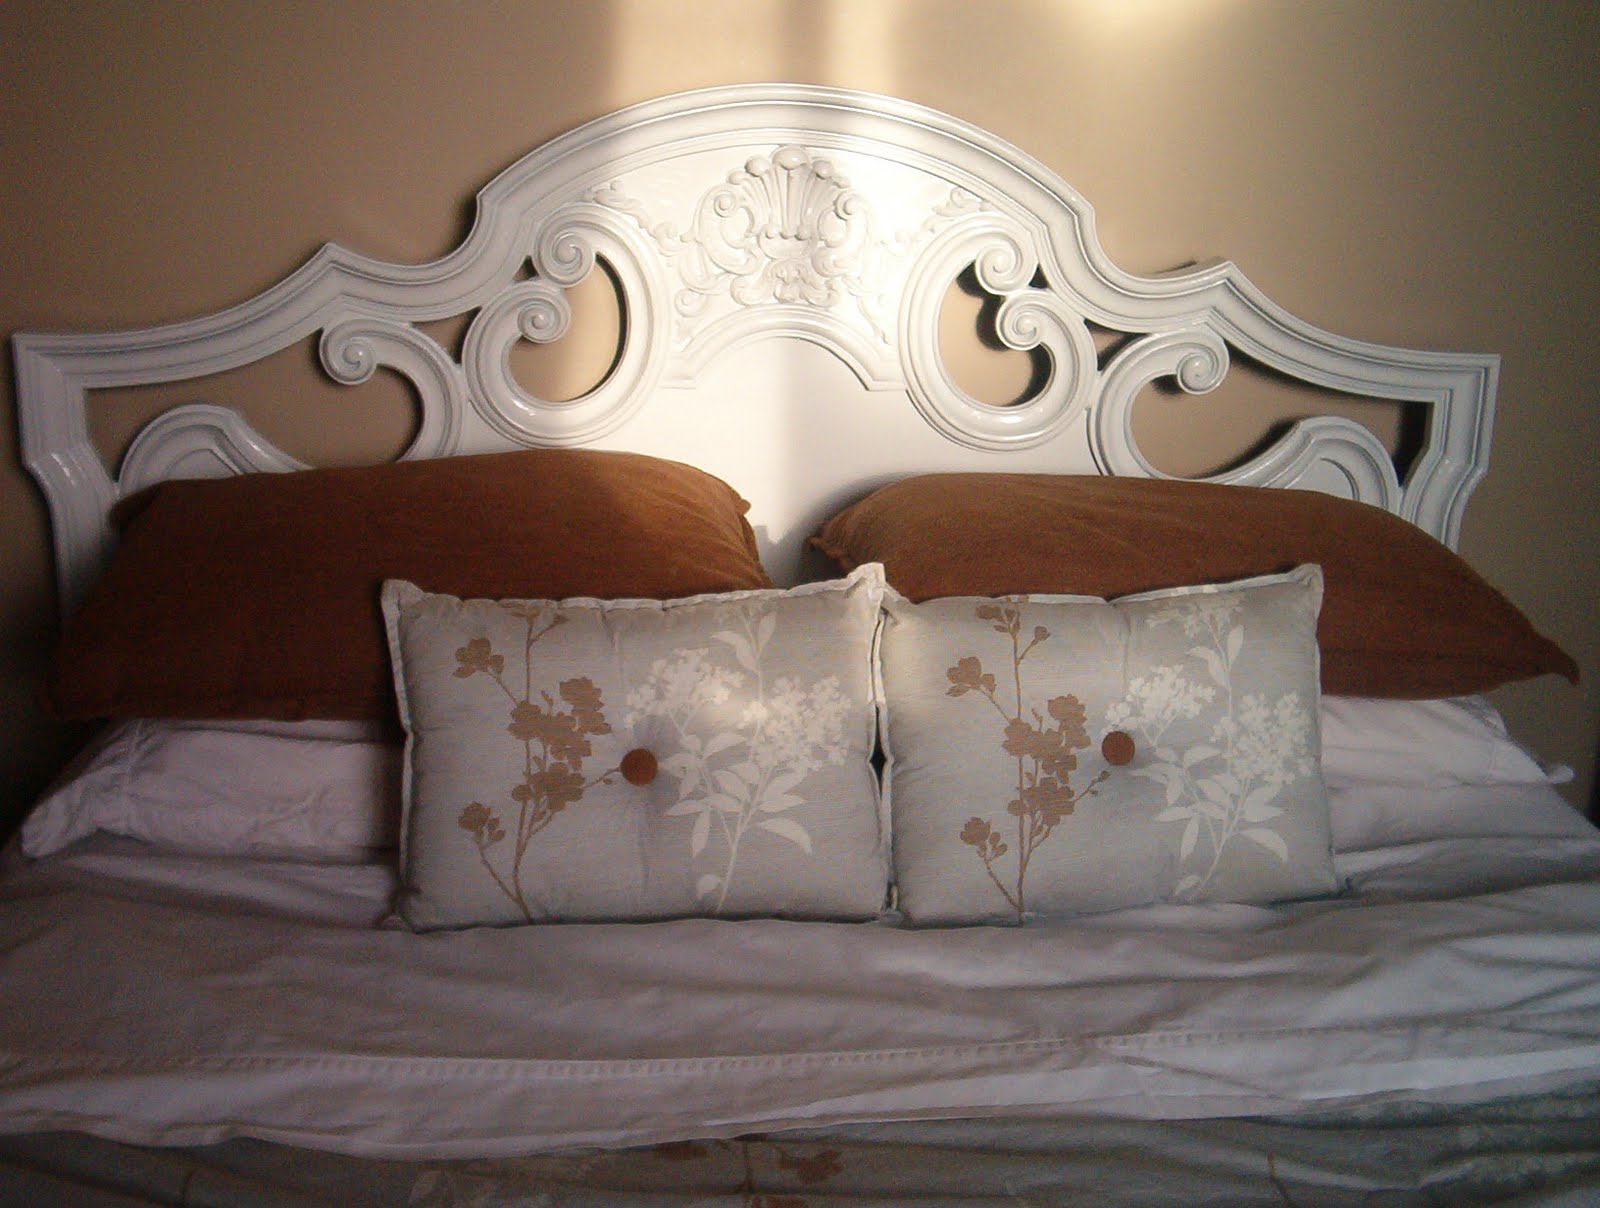 Doesn't it look amazing????? Not bad for $26, if I do say so myself. And, in the interest of full disclosure, I ironed the sheets before showing them to you. Yes, that's right. I was channeling my inner 60s housewife (my mom?) The reverberations throughout the universe would be exceeded only if I had said, "Why, yes, I DID sew that all by myself." As an aside, they felt AMAZING to sleep in. Wow! Maybe even enough to ALWAYS iron the sheets before I make the bed.....no wait, I haven't QUITE lost my mind that much.
This is a close-up of the bedding which is available here. The sheets are from the same place - they are 400-thread count.

What do you think? Time to replace my bedding to go with my spiffy new headboard?
Nadine
You Might Also Like
Comments (0)
- You could be the first person to comment!