{Before & After} Powder Room Reveal Part I
By Nadine McCrea | December 21st, 2010 at 9:02am
 The powder room on our main floor is very, very tiny. It measures a scant 47" deep by 52" wide and that includes a vanity, the toilet and a door that swings IN. However, it is also an important room as it is right at the front door, and it is likely the only bathroom a visitor will see. As the rest of the house is a neutral backdrop, I wanted the powder room to have visual impact. I first came home with some awesome orange grasscloth wallpaper. The verdict? Three thumbs down from the family. They wanted NO orange and NO wallpaper. I then thought that stripes would be a good idea. I also decided to paint them because paint is much less of a commitment than wallpaper. The verdict? Come on, my peeps! This girl is no slow learner...I didn't ask them!
As I love the beachy look, I went with blue and white stripes. I decided to paint the background in BM Cloud White. I already had a 4litre/gallon of it at home because I painted all the closets in it. I also had a litre/quart of blue paint I have already mentioned here. It is called BM Iced Slate and it was a $4 mistint at the local BM retailers. The colour was tinted correctly but the finish was wrong for the previous client - so her loss, my gain!
The hardest part of this project was definitely the math. I knew I wanted the top stripe AND the bottom stripe to both be white (the background AND the ceiling colour). This just made it easier to paint. And (in theory) easier to calculate. Math is not my strong point. I mean, I can do my own taxes and figure out a tip, but math like this is beyond me. Like, way way beyond me. In a galaxy far, far away. But I finally (sorta) figured it out. I knew I needed an odd number of stripes. I found out that the ceiling in the powder room was shorter than the rest of the house. I had never noticed that before. I ended up calculating that each stripe needed to be 6.5 inches and a bit. So I measured 6.5" and "eye-balled" the difference. Professional carpenters and painters are wincing right now.
I did remember that the tape should be level.
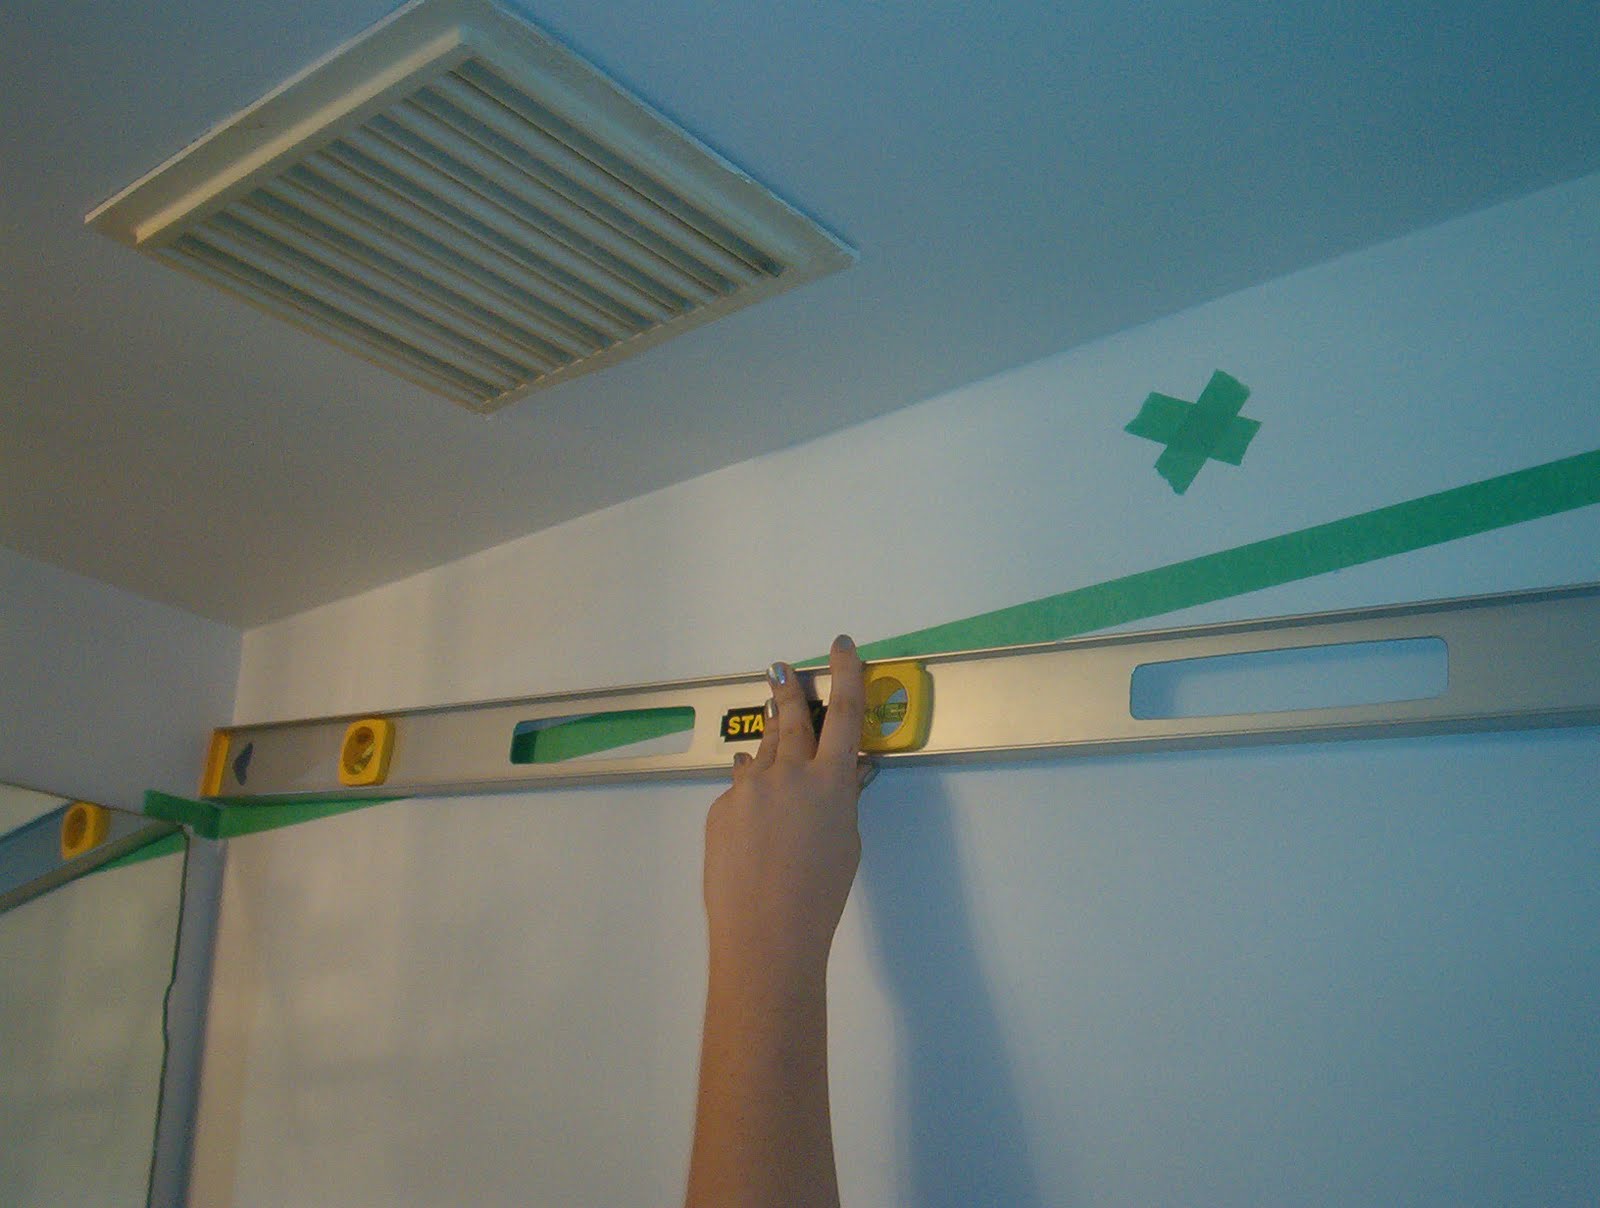 Unfortunately, the room is only 47" wide! So this was the alternative:
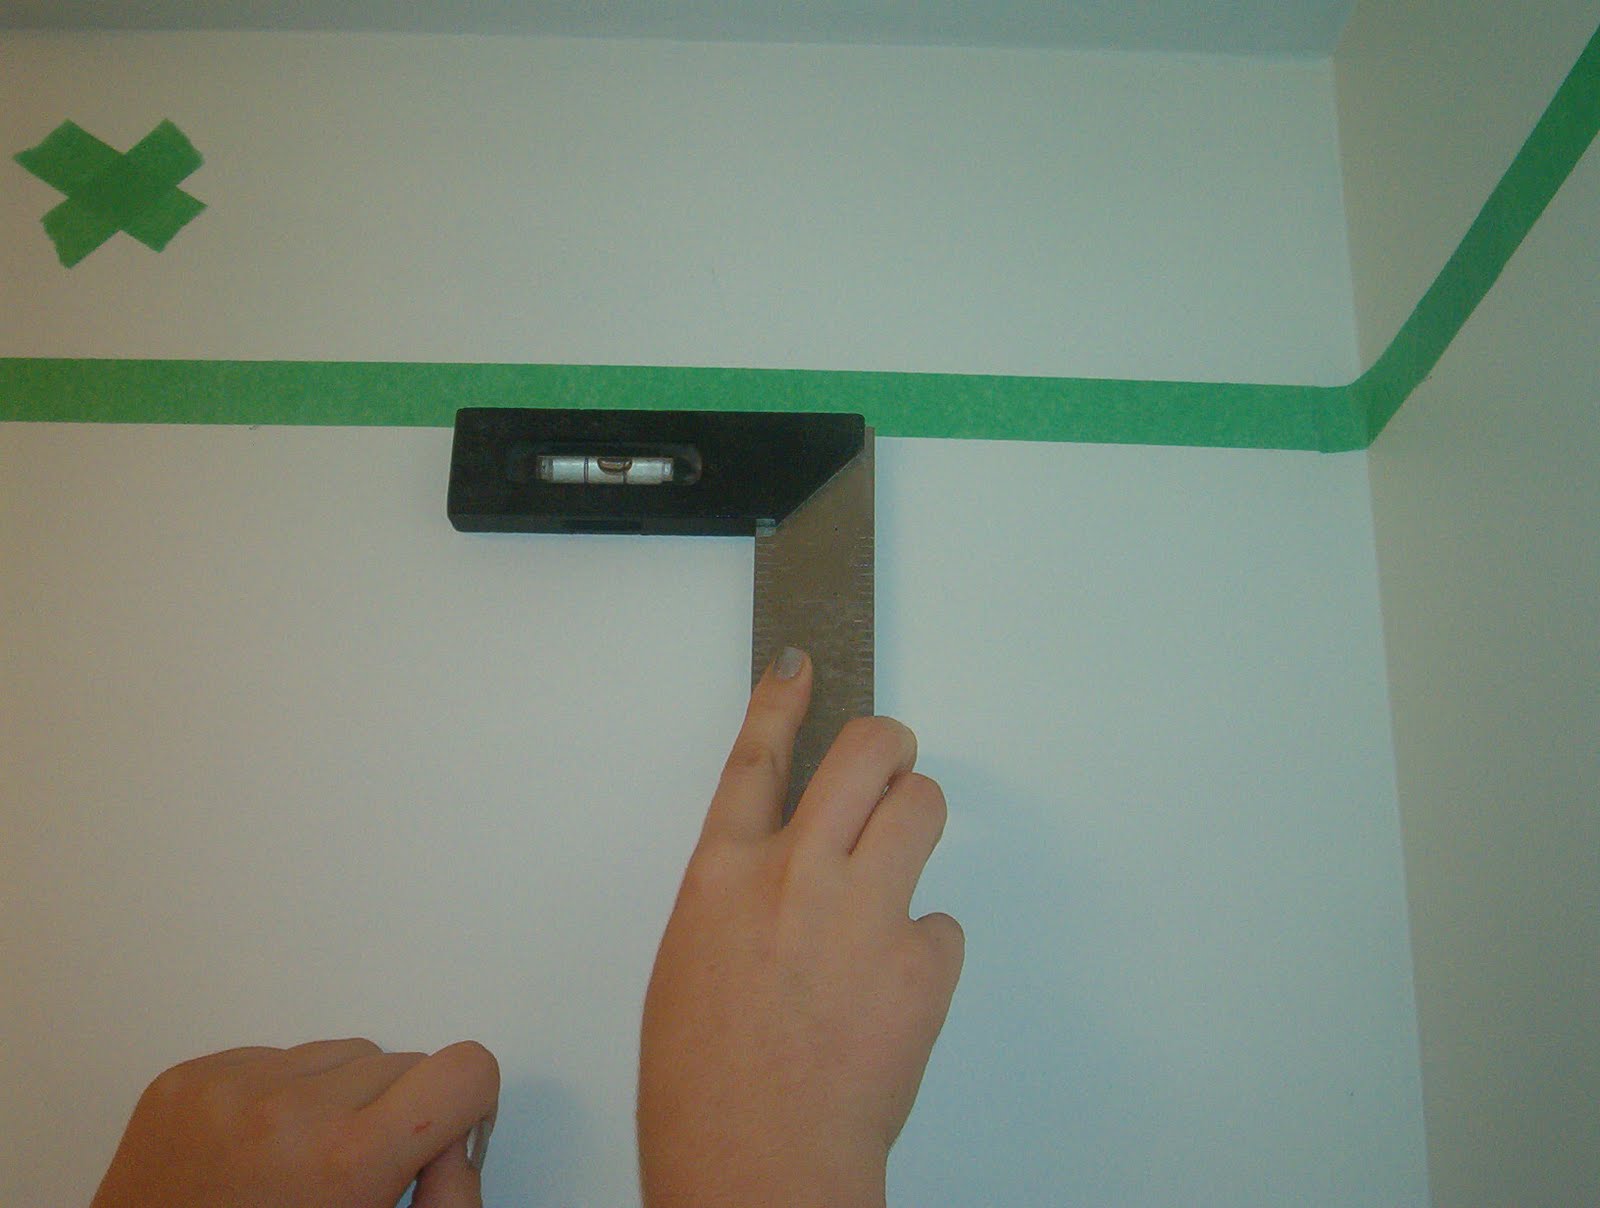 It worked.
So I continued the taping around and down the walls. It is important to remember to tape inside the stripes that will remain in the base coat colour (in this case, white).
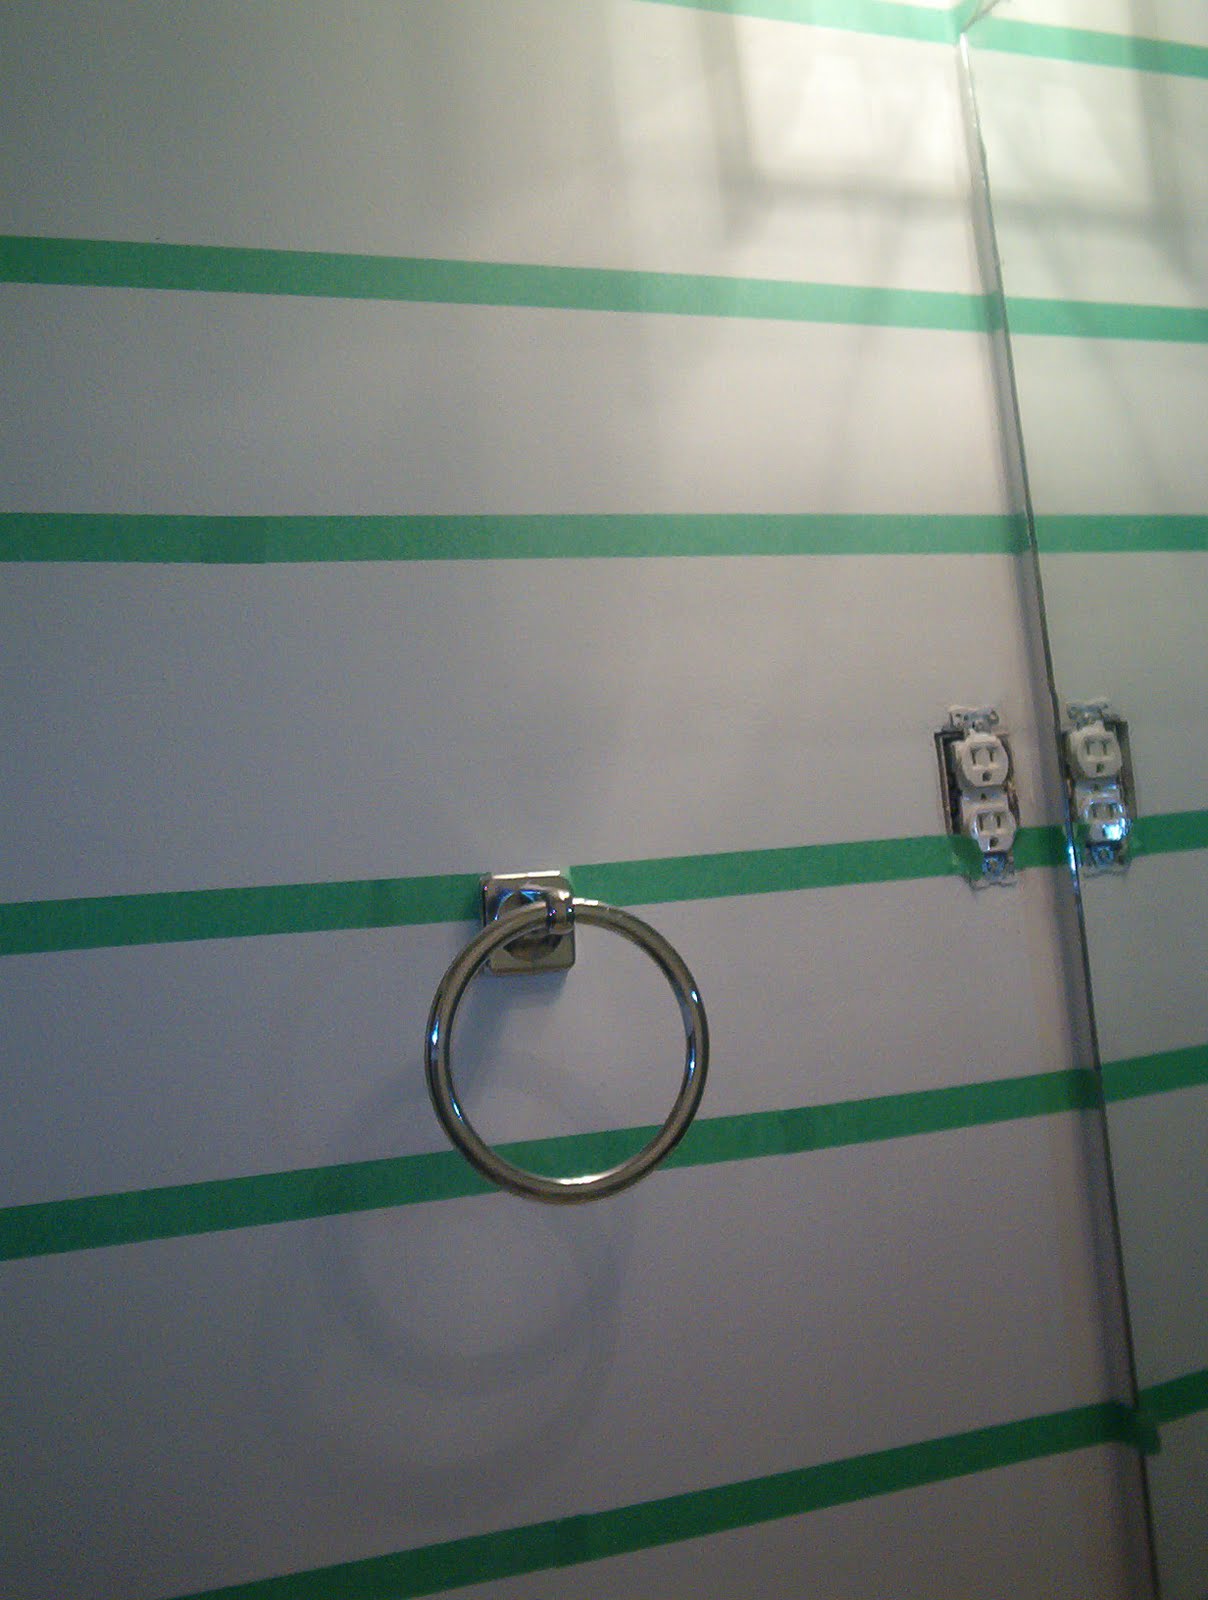 I "x-ed" each stripe that would stay white. My family mocked me for this. However, when your nose is half an inch from the wall, it help to put the "idiot-strings" up.
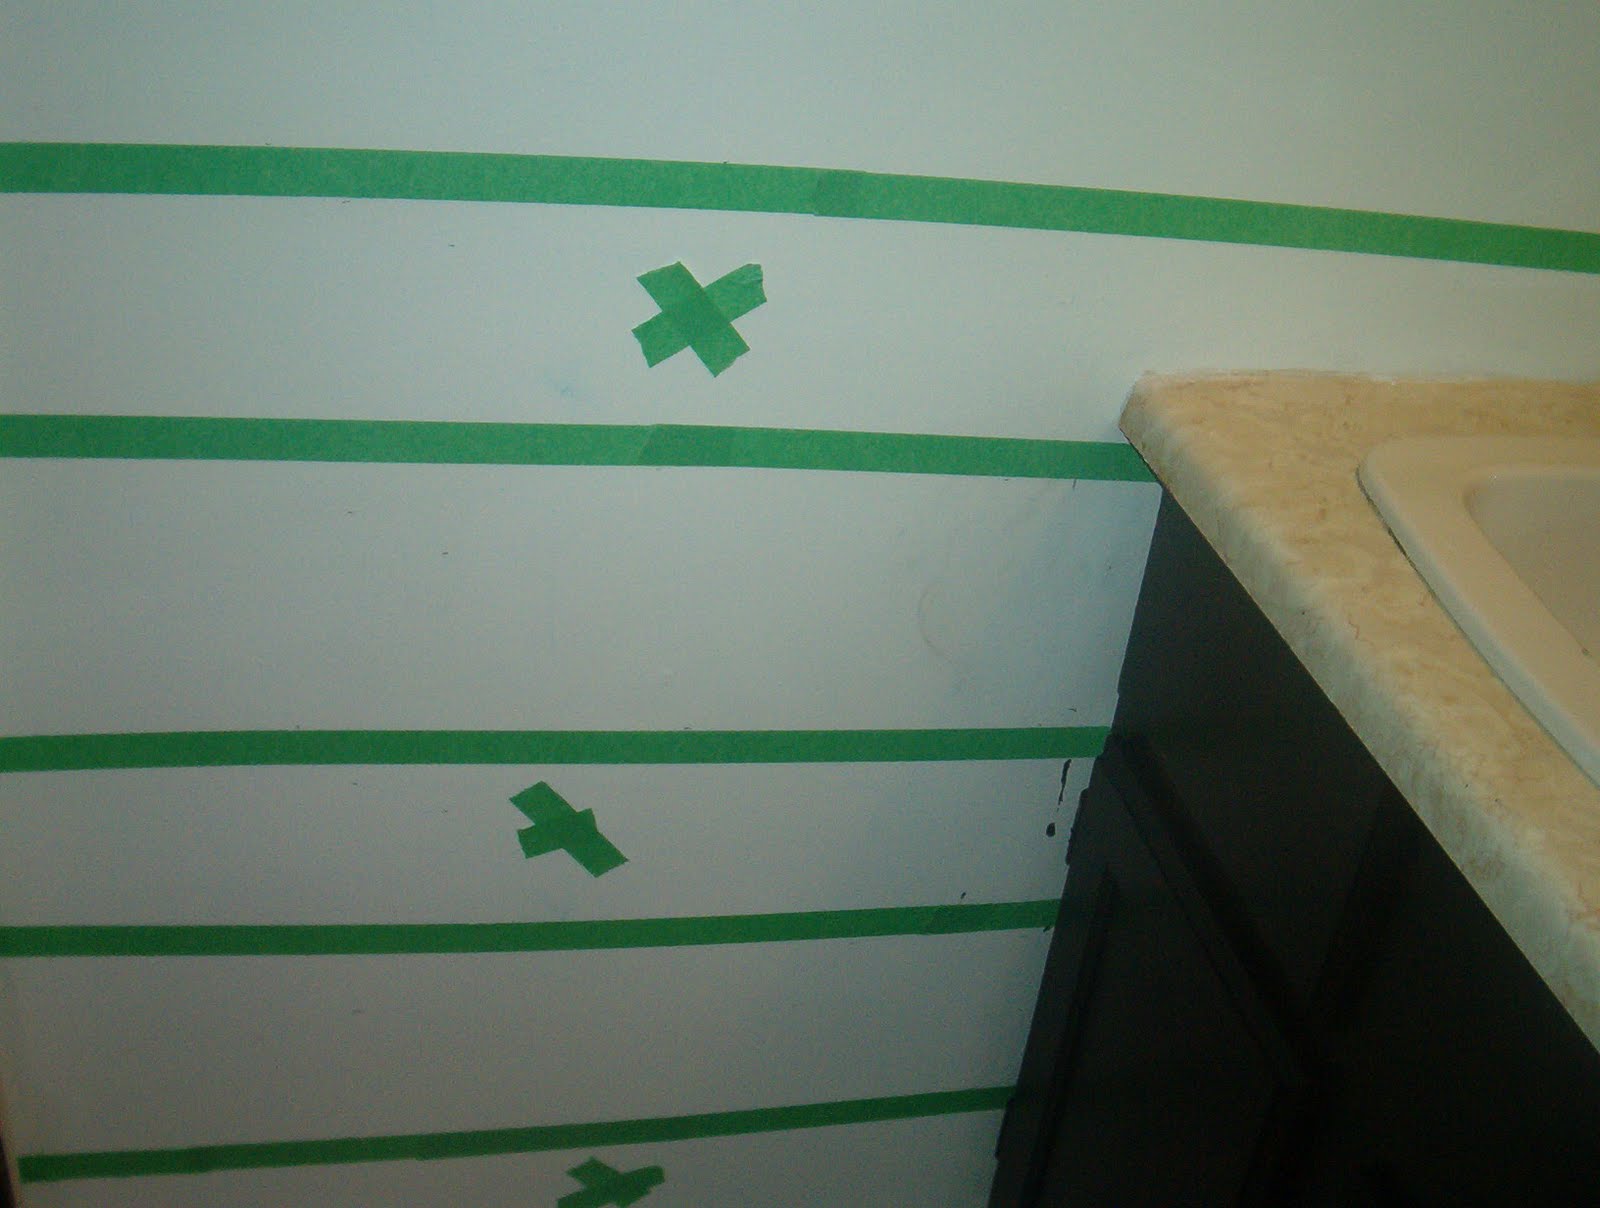 I then painted the edges of the tape on the blue sides with white. This seals the white and prevents bleeding. This tip really works and will save you a ton of aggravation later.
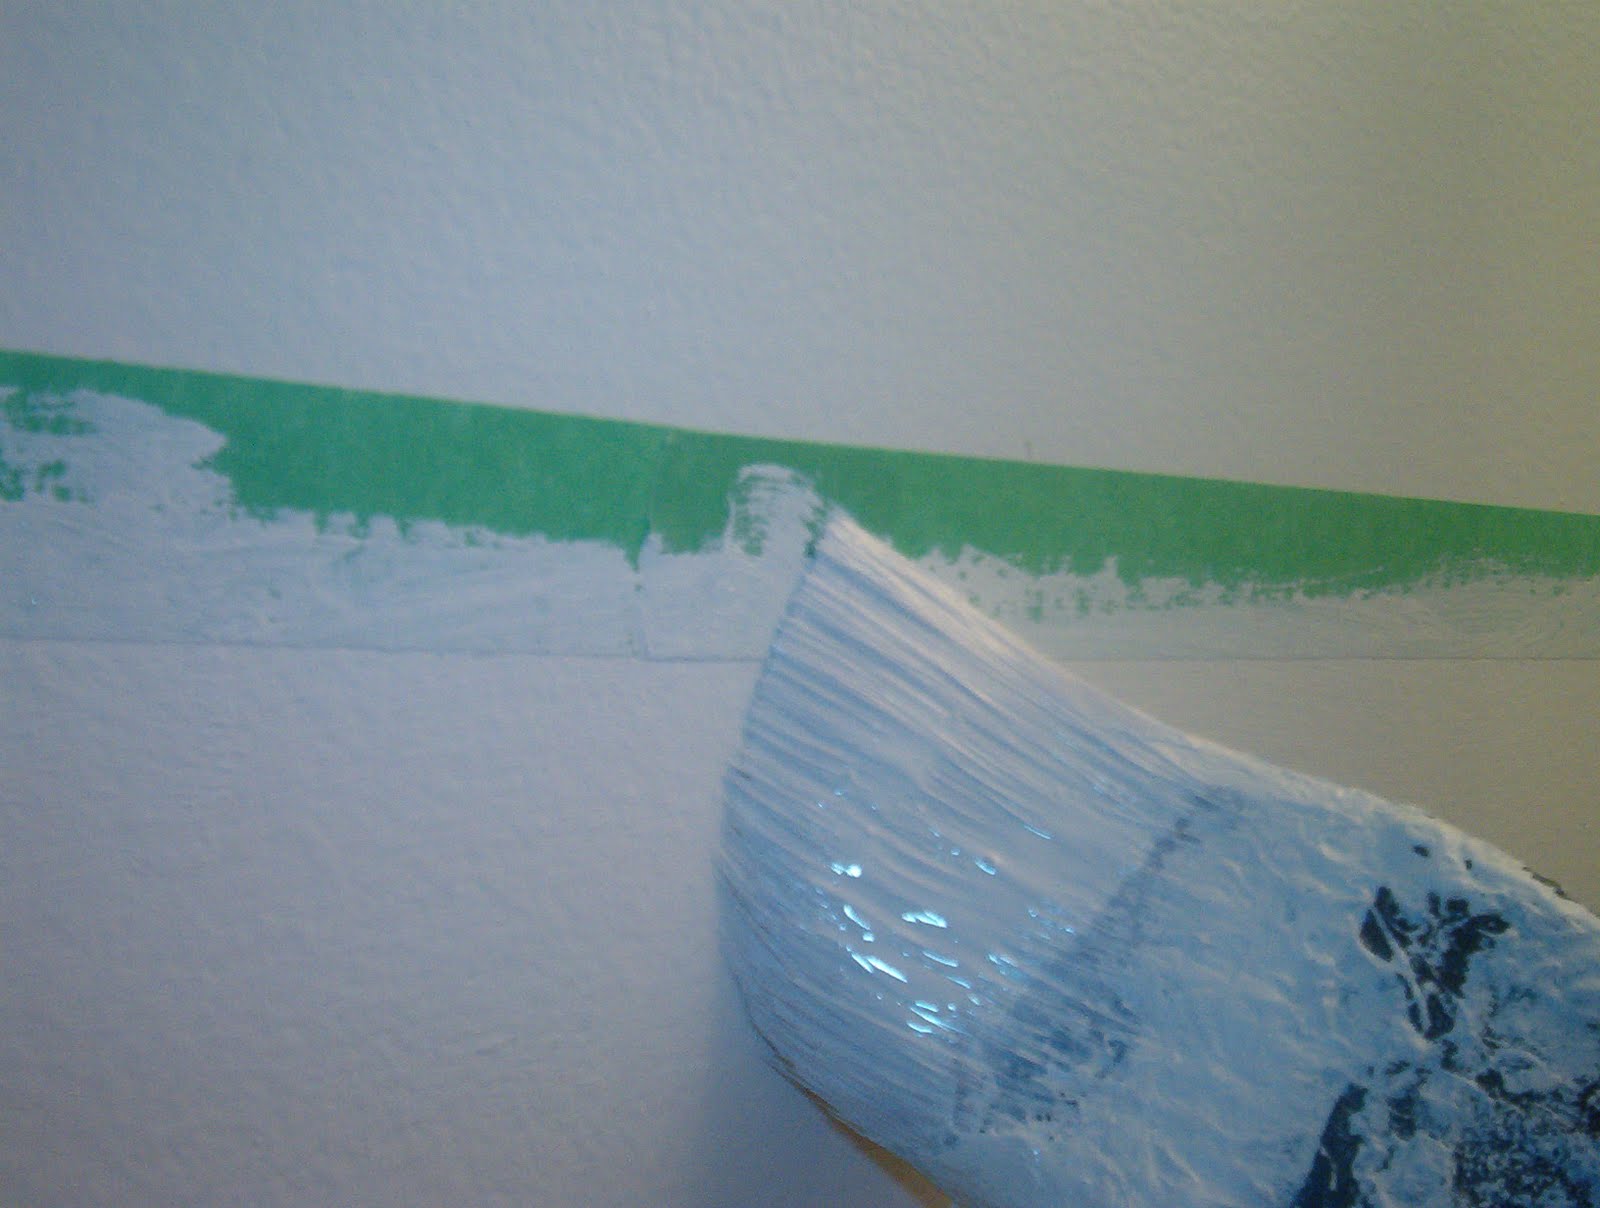 Once the white paint dried (and since I used BM Aura, it was only an hour), I painted the blue in.
Make sure to remove the tape right away.
And here are a couple shots of the after.
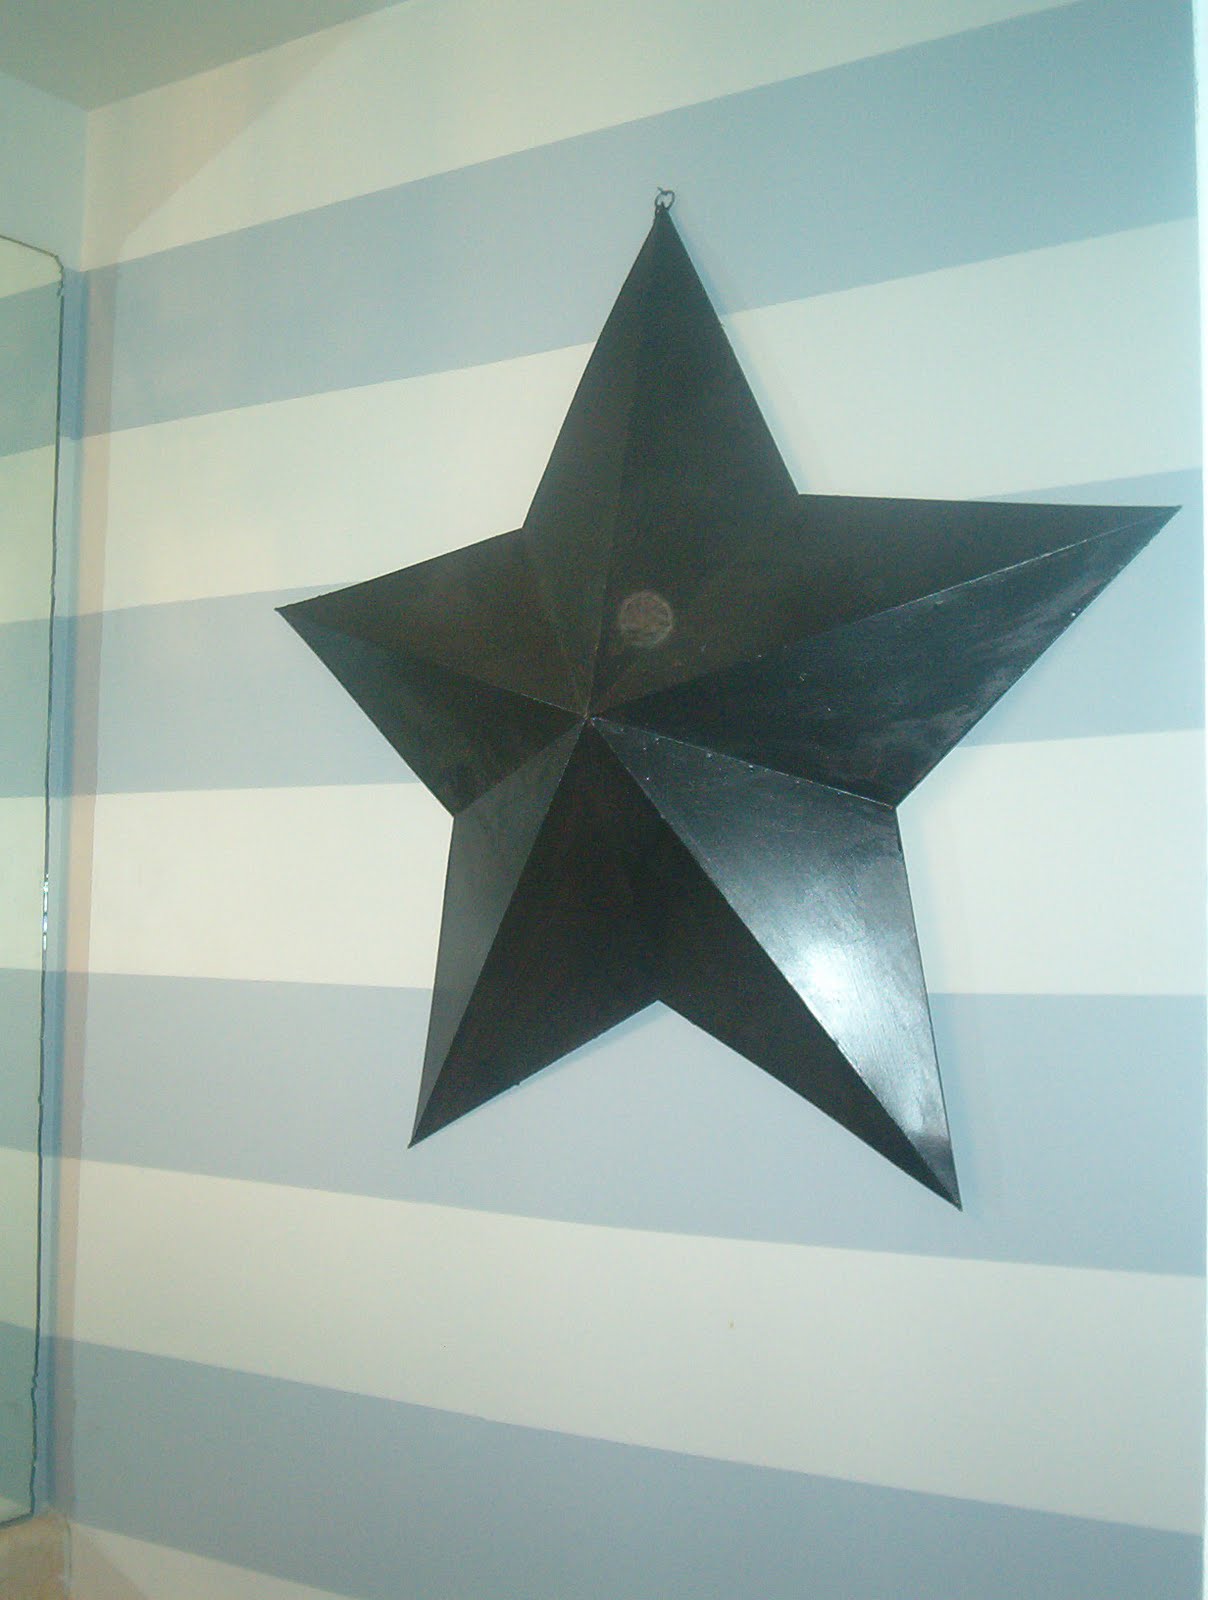
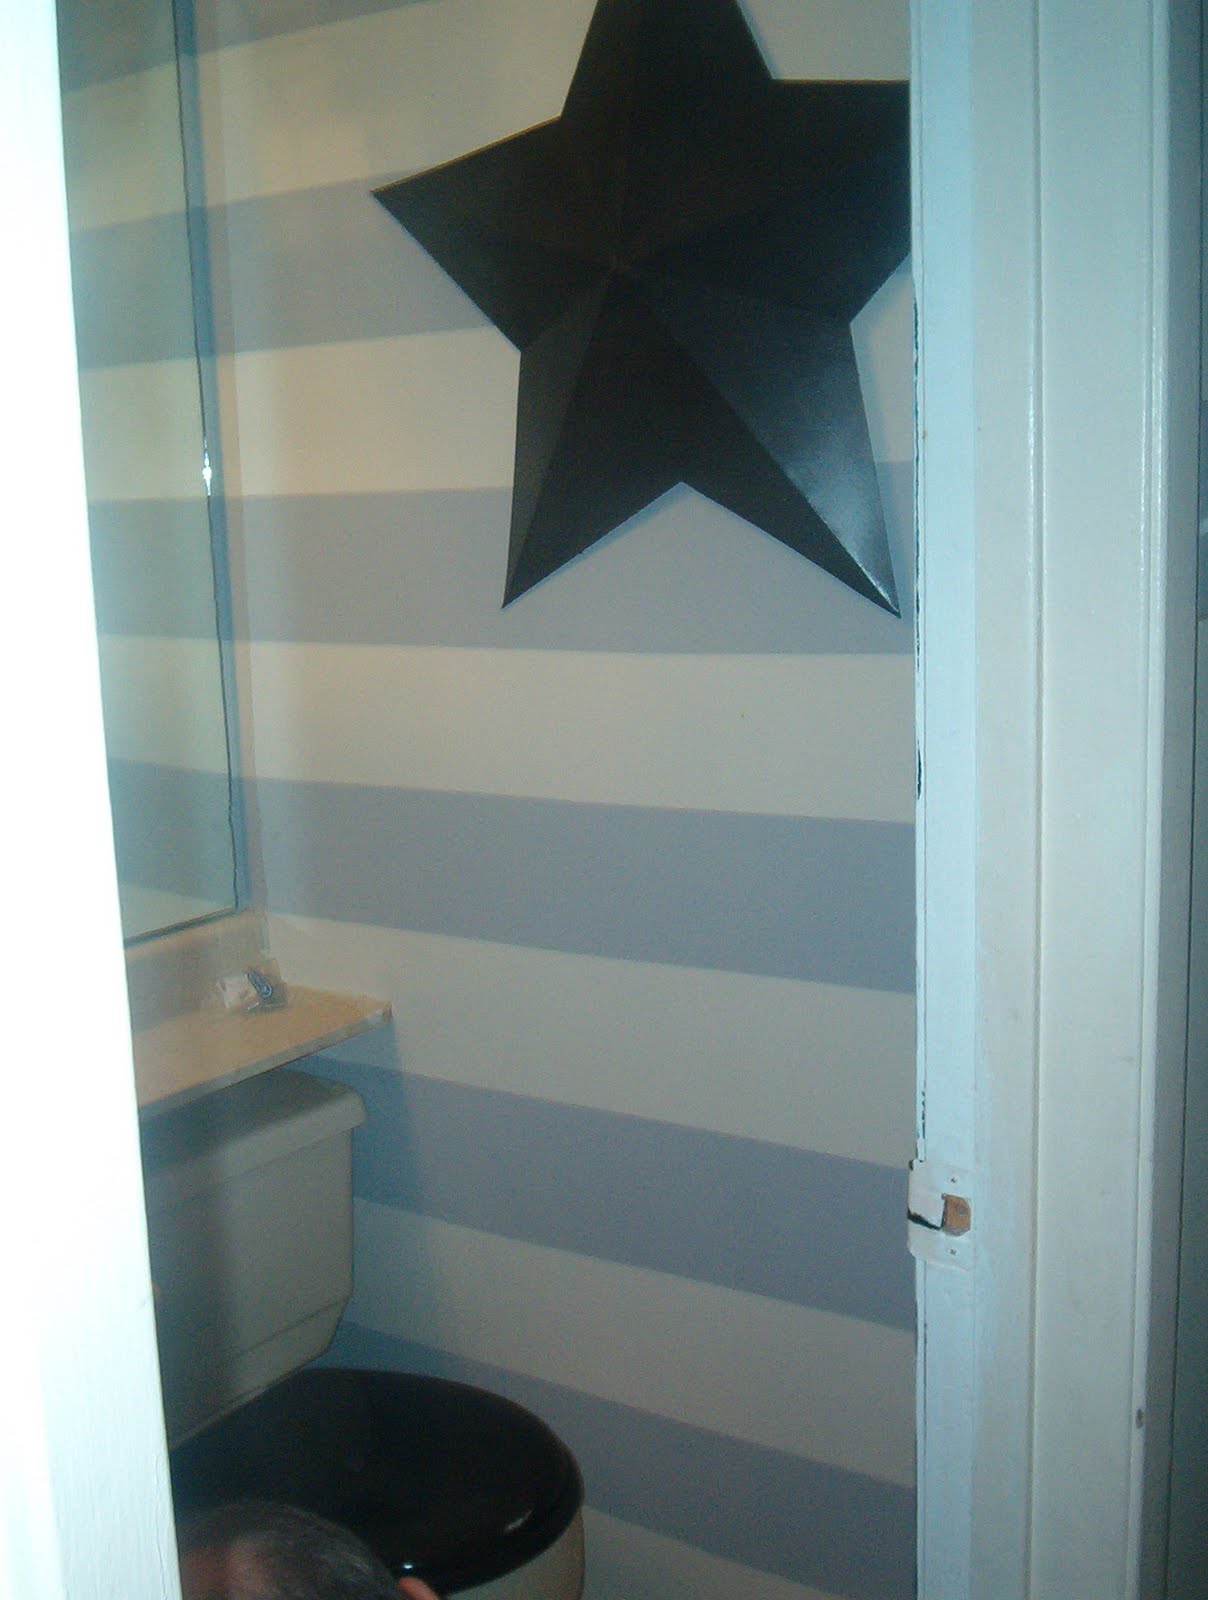 Try to ignore the ugly banjo-shaped, laminate countertop. **shudder** And the black toilet seat. **gag** I will be replacing both soon. Did you hear that, Santa? Momma wants a new toilet! (On a side note, one must be quite the committed DIY-er to want a dual-flush toilet for a Christmas present - or is it just that I should be committed???)
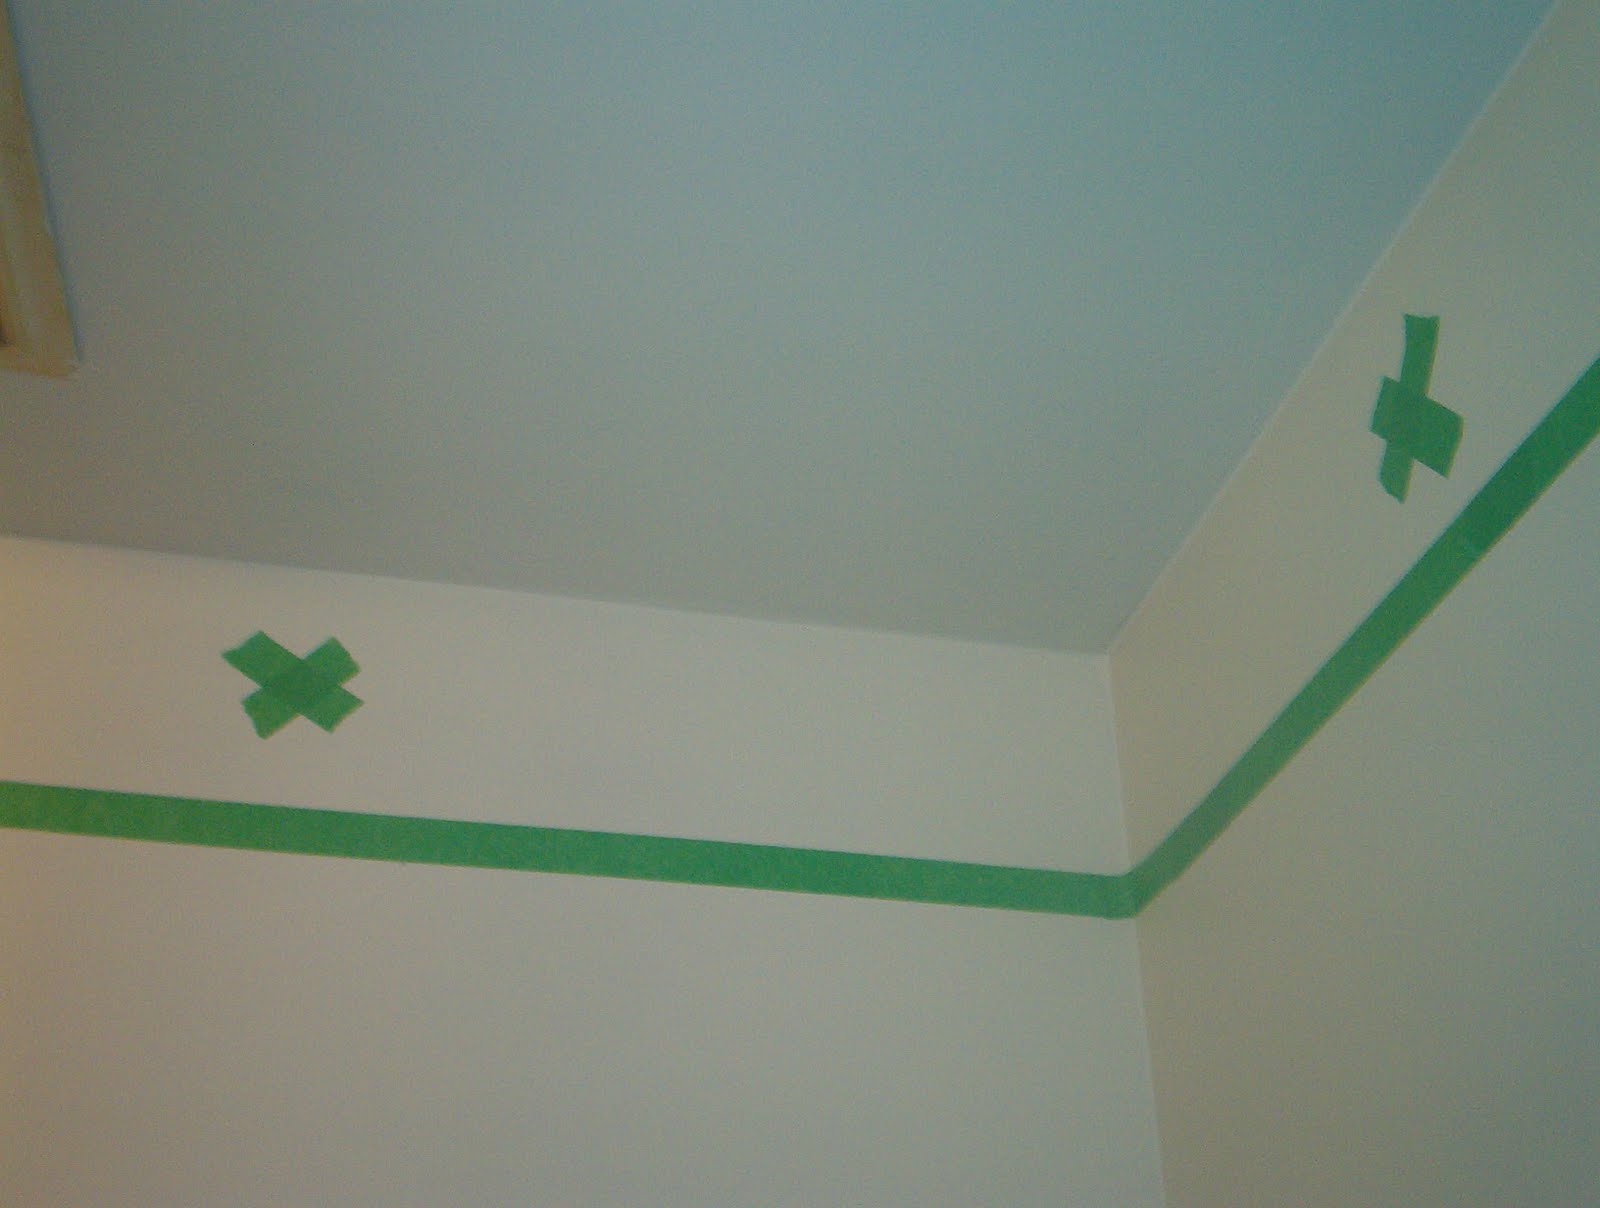
Here is a link to the one that I want:
 Excellent!
Nadine
You Might Also Like
I'm blue da ba dee da ba die...
Desperately Seeking...
I See a Red Door and I Want it Painted Black
Mad Hatter
Comments (0)
- You could be the first person to comment!